Pastel Portrait Drawing Method - Portrait 11
A new version of Portrait 11. This one uses the same modified grid sketching method with traditional pastel on paper to show that it works for traditional as well as digital sketching. Pastel paper has a certain tooth and you have to be careful not to damage it when sketching, which means very minimal erasing, so you can't draw over and over. This method allows you to get a close enough sketch in one pass to continue working.
The grid design is described more fully in the comments of the digital version of this painting in my gallery.
I also wanted to finish the piece to see how close I could get to the digital version color and value wise. Not that close I found. I really miss the infinite color selection of painting with digital tools. Especially with the blue on the center and right section of the dress, I didn't have a really good hue to work with. Pastels are even more limited than oil since they create dust, so no even slightly toxic chemicals are allowed in pastels in the US, so a lot of basic pigments are off limits.
This painting was done with Rembrandt, Sennelier and Schmincke soft pastels and Carbothello soft pastel pencils and my fingers, nothing else.
As I got towards the end, I still had the nose and mouth a little too narrow, which made her look slightly older, which I actually liked. Since I can't save versions like with a digital painting, here I only get one, I decided to stop and keep this one, as I like the look a little better. It's not a paid portrait, so I get to choose, but it is not as close of a likeness as I did with the digital version.
Pastel has an interesting soft look, but I cannot get colors as strong or contrasts as strong as you can easily do with digital.
I hadn't done a pastel since 2004 (17 years - oof!) and wanted to see how my digital drawing practice would translate back.
The drawing part was fine, but there is no beating the color selection and tweaking ability you have in digital painting.
But no one can say you cut and pasted or photoshopped your pastel!

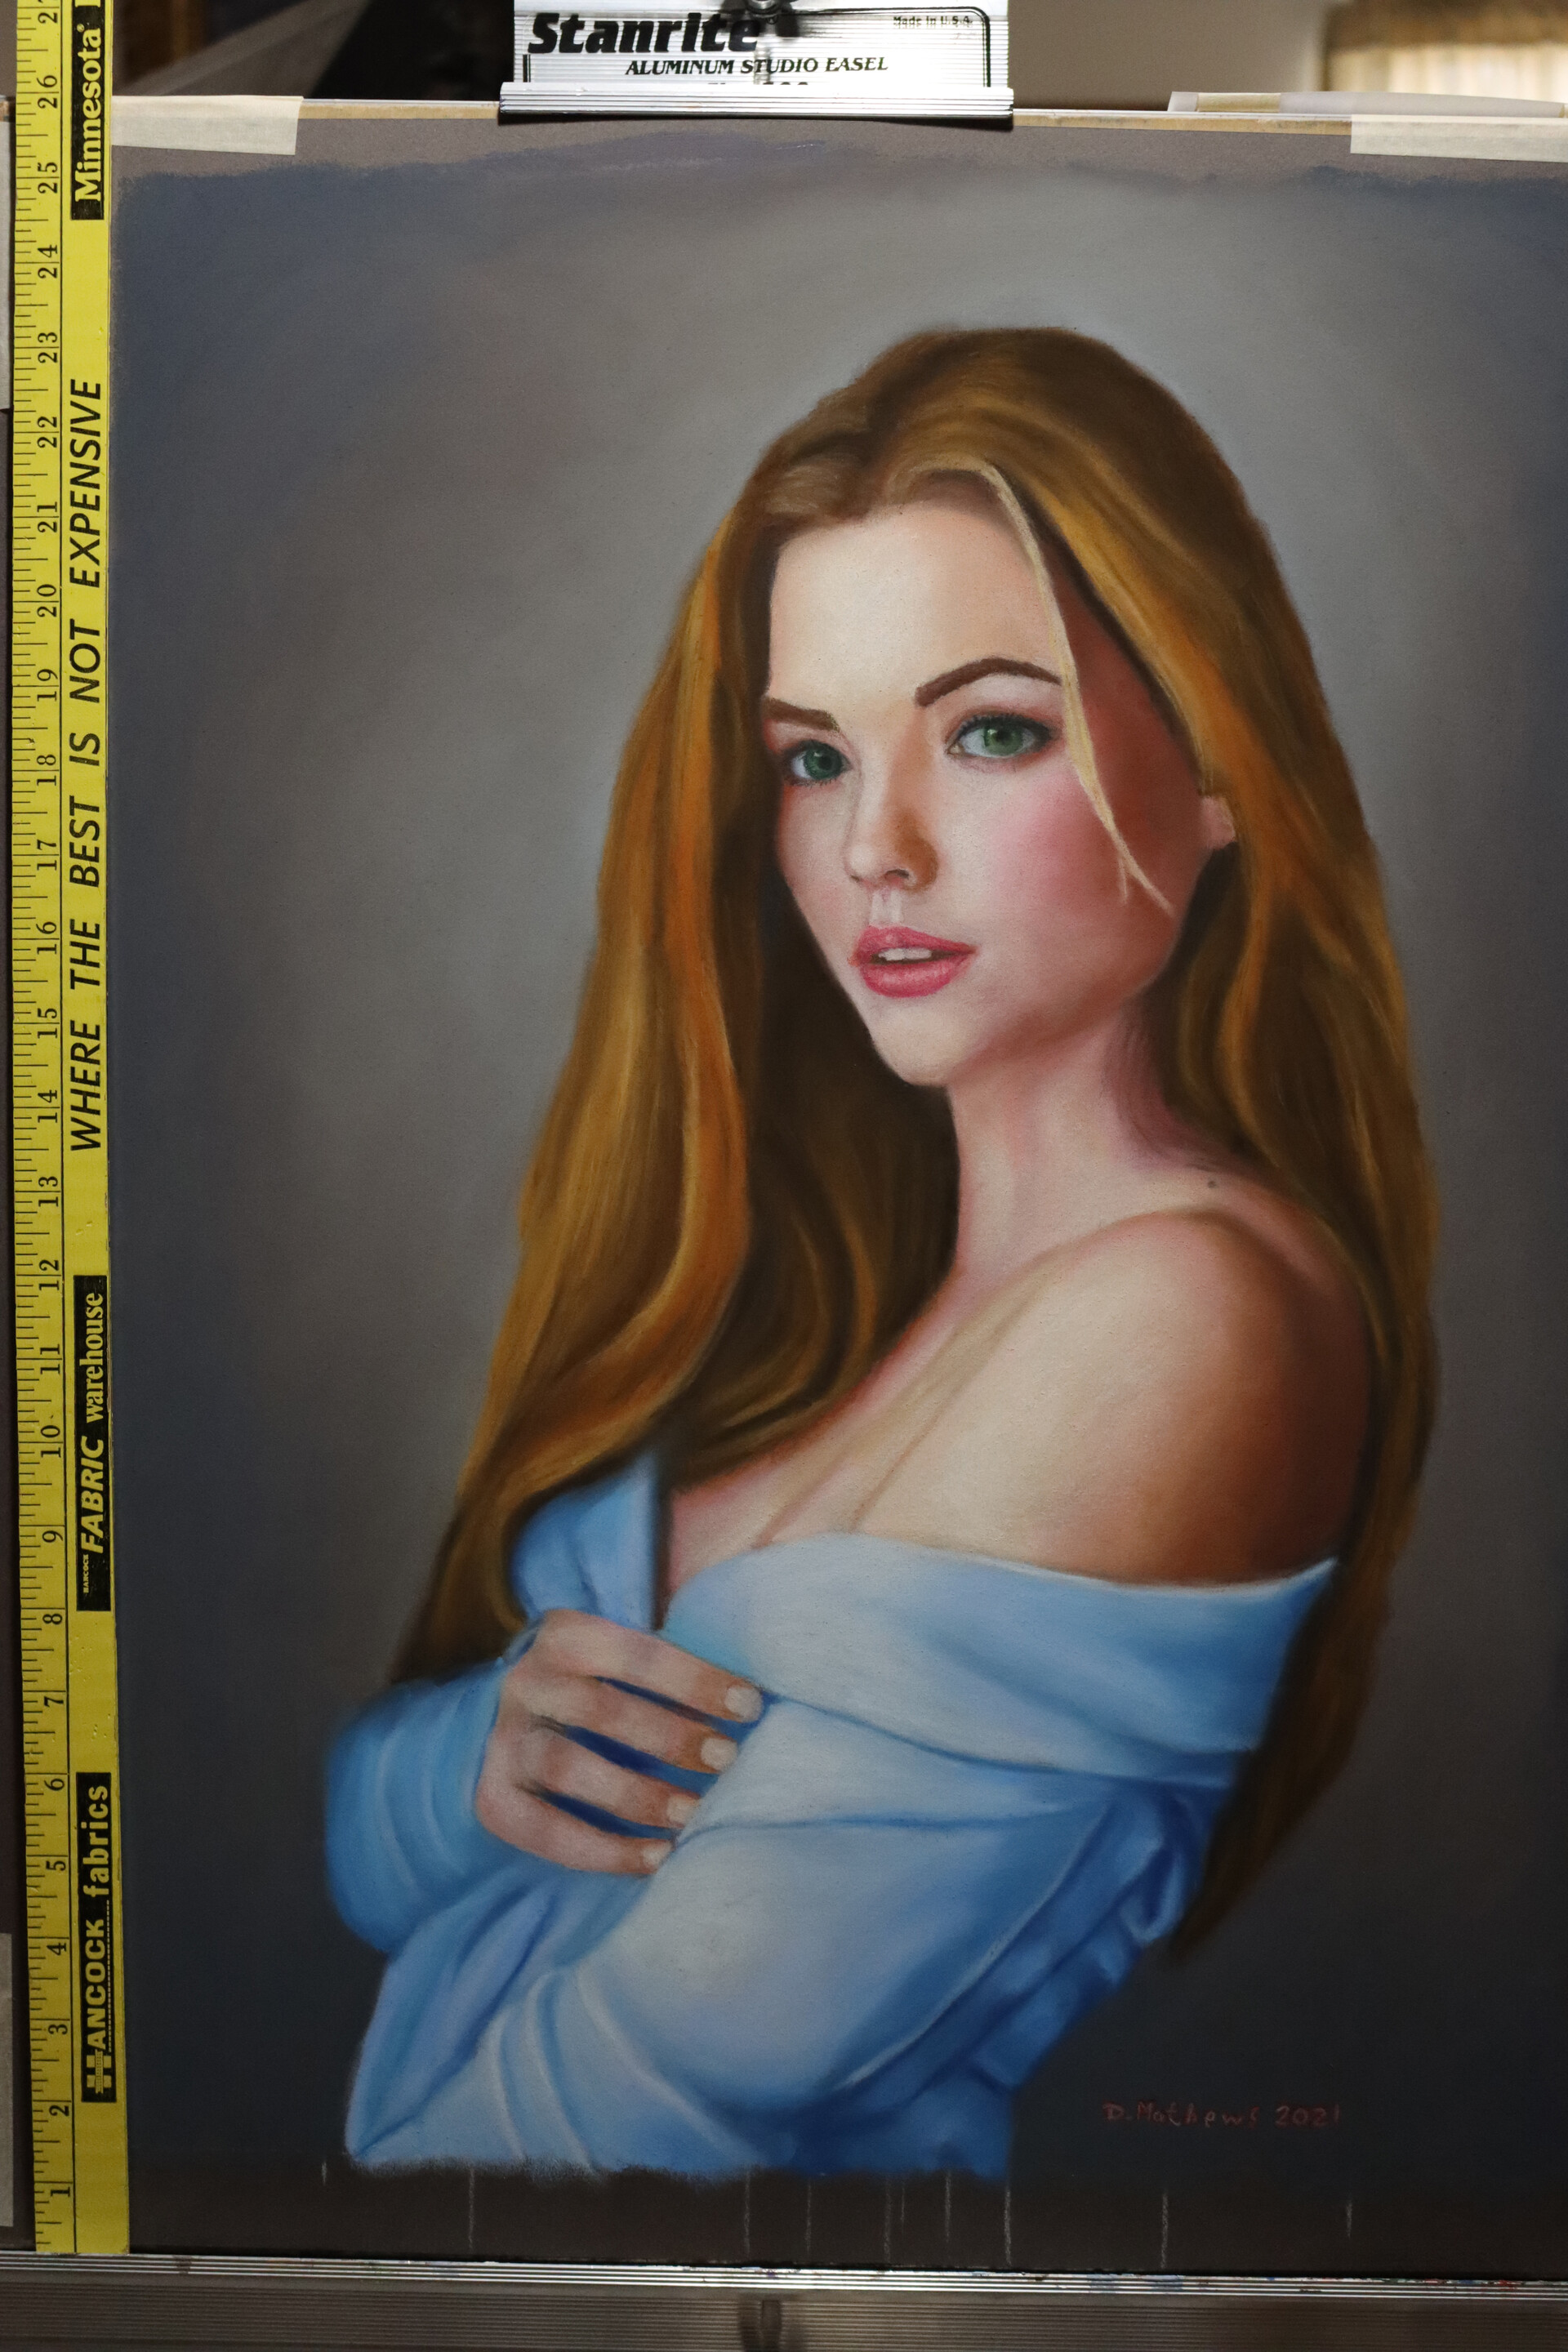
Final 18 x 24 inch pastel.
You can see the final remains of the white grid at the very bottom. When I mat this to frame it, I will cover that up, just wanted to leave it for this demo.

An old class example I never finished with part of the traditional grid enlargement method still showing

Easel by monitor with photo with over layed grid.

The grid redrawn on Canson pastel paper with white pastel pencil

Major stage 1 - Pastel Pencil sketch. The positions of all major features have been established. This is just shapes. I don't try to do shape, value and color all at once. My brain can't handle it.

I always draw the eyes first as my contrast base. They are drawn with pastel pencils, as they are small, then I use the large stick pastels until everything is blocked and blended.

I always did a live demo in pastel classes, because until you see the stages they go through it is hard to see how to go from sketch to finished piece. This first application of chalk is very rough and looks like crayons on paper with all the skip marks.

But it changes drastically with the first finger painting of the chalk base.

Section by Section I block and then partially render by blending.


Dress blocked

Dress and Shoulder first blend.

And the sketch goes away.

Major Stage Two. All Blocked and first Blend. This is basically the underpainting. I can now see the relationships between all colors and values, so now I can start correcting them. The next stage is large corrections to get everything as close as I can.

First Hair redrawing showing chalks at the bottom used for (l to r) dress, hair (pencils and chalks) and background

First face redraw. And got a new daylight bulb. I had been using an incandescent which was making all my pics look yellow when my good light died. Another problem you don't have with digital.

A simple method for drawing in the middle of a pastel. Just don't slide it around. That's why I have it taped. I mostly just us a 1/2" wood dowel for a hand rest with the pastel pencils. I don't use one with the large chalks.
First redraw of the hand and shoulder. And a ruler to see the size. The digital was an A4 600 dpi image. This is almost life sized.

About 6 small correction rounds later.